Arduino Robot Arm
- Primary category
- Robotics
- Supporting categories
- Embedded Systems
- Physical Computing
- Prototyping
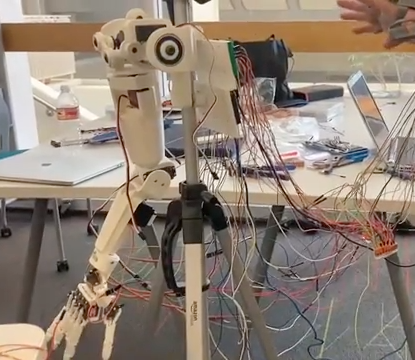
Four-person team prototype adapted from existing robot-arm ideas; photo by a teammate.
Overview
Our four-person team built a physical robot-arm prototype with 3D-printed parts, servo-driven joints, Arduino Nano control, and a human-operated potentiometer controller.
My Role & Contribution
I handled the 3D printing and most of the soldering, wrote a small amount of Arduino code, and researched motor and architecture choices. These were my contributions to a shared team prototype.
Technical Approach / Technologies
Potentiometer inputs drove Arduino-controlled servo joints across the arm, while 3D-printed components formed the mechanical structure. The team integrated the controller, wiring, motors, and printed parts into one operating prototype.
Technologies
- Arduino Nano
- servo motors
- potentiometers
- breadboards
- copper wiring
- soldering
- 3D printing
Engineering Decisions / Trade-offs
The team adapted ideas from existing open-source robot-arm designs rather than starting from a wholly original mechanical architecture. We also weighed board size, connection style, available space, cost, and material strength while integrating the prototype.
Challenges / Lessons
The project required mechanical, electrical, and control components to work together within tight physical constraints. It also reinforced the importance of crediting existing open-source designs when a prototype adapts established ideas.
Results / Status
The preserved video shows a completed integrated prototype moving under potentiometer control.
Evidence
The case study is supported by the repository, Arduino source files, the team white paper, project video, and curated fabrication and prototype frames.
Four-person team prototype, photographed by a teammate. Alan handled 3D printing, most soldering, a small amount of Arduino code, and motor and architecture research. The team adapted existing open-source robot-arm ideas; this still does not independently demonstrate operation.
View full-size photograph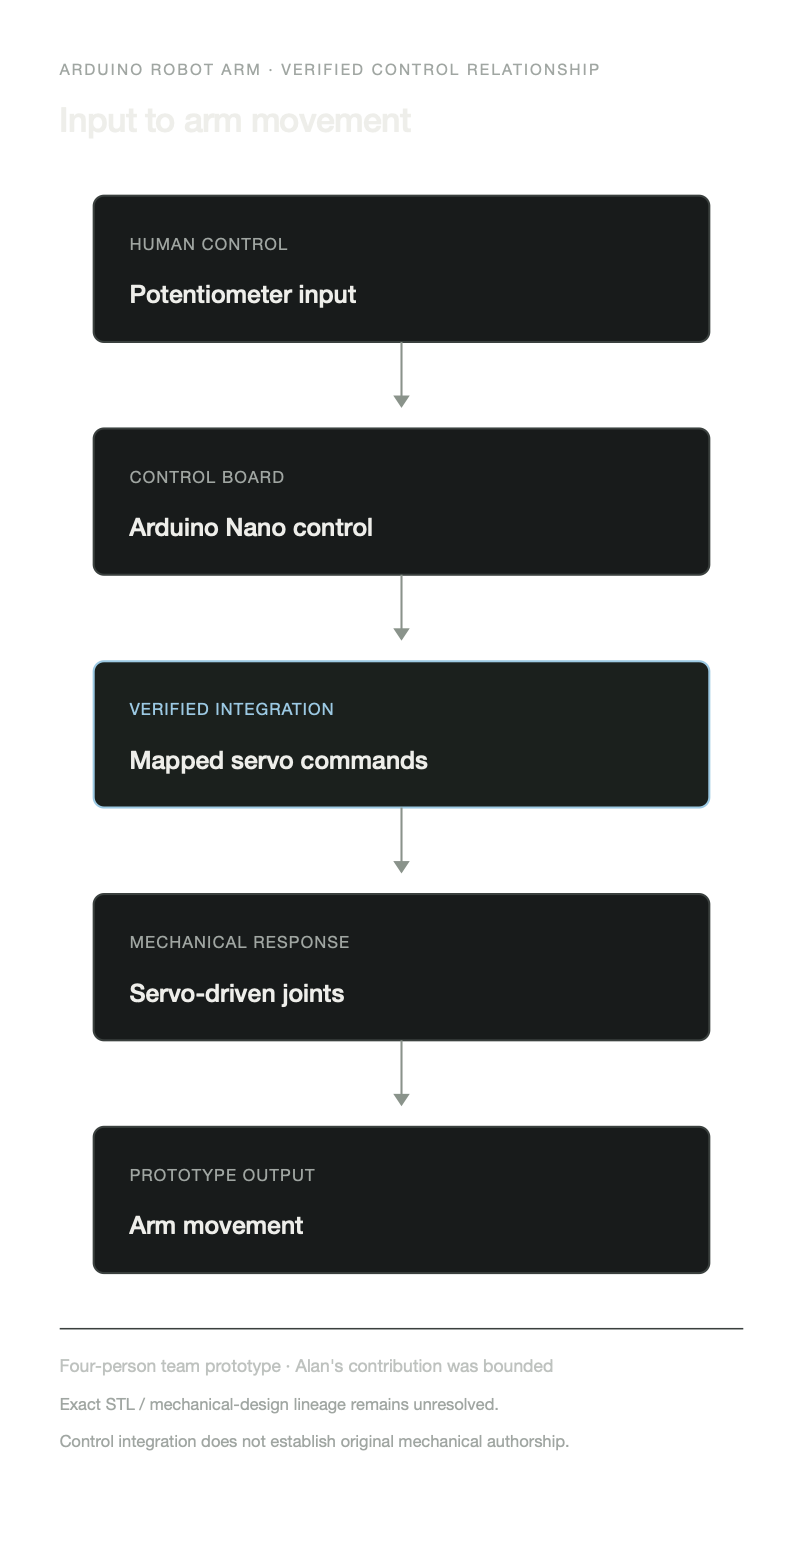
Explanatory control-flow diagram for the shared four-person prototype. It preserves Alan's bounded fabrication, assembly, code and research contribution and the project's adapted mechanical-design context.
View full-size diagram